Connecting to the server (Instance)
Connect to the server using the console
- Go to the server section.
- Click the Connect button.
- Fields will display relevant information and direct links to the web console.
- By clicking on it, a new browser tab will open and you can directly access the server.
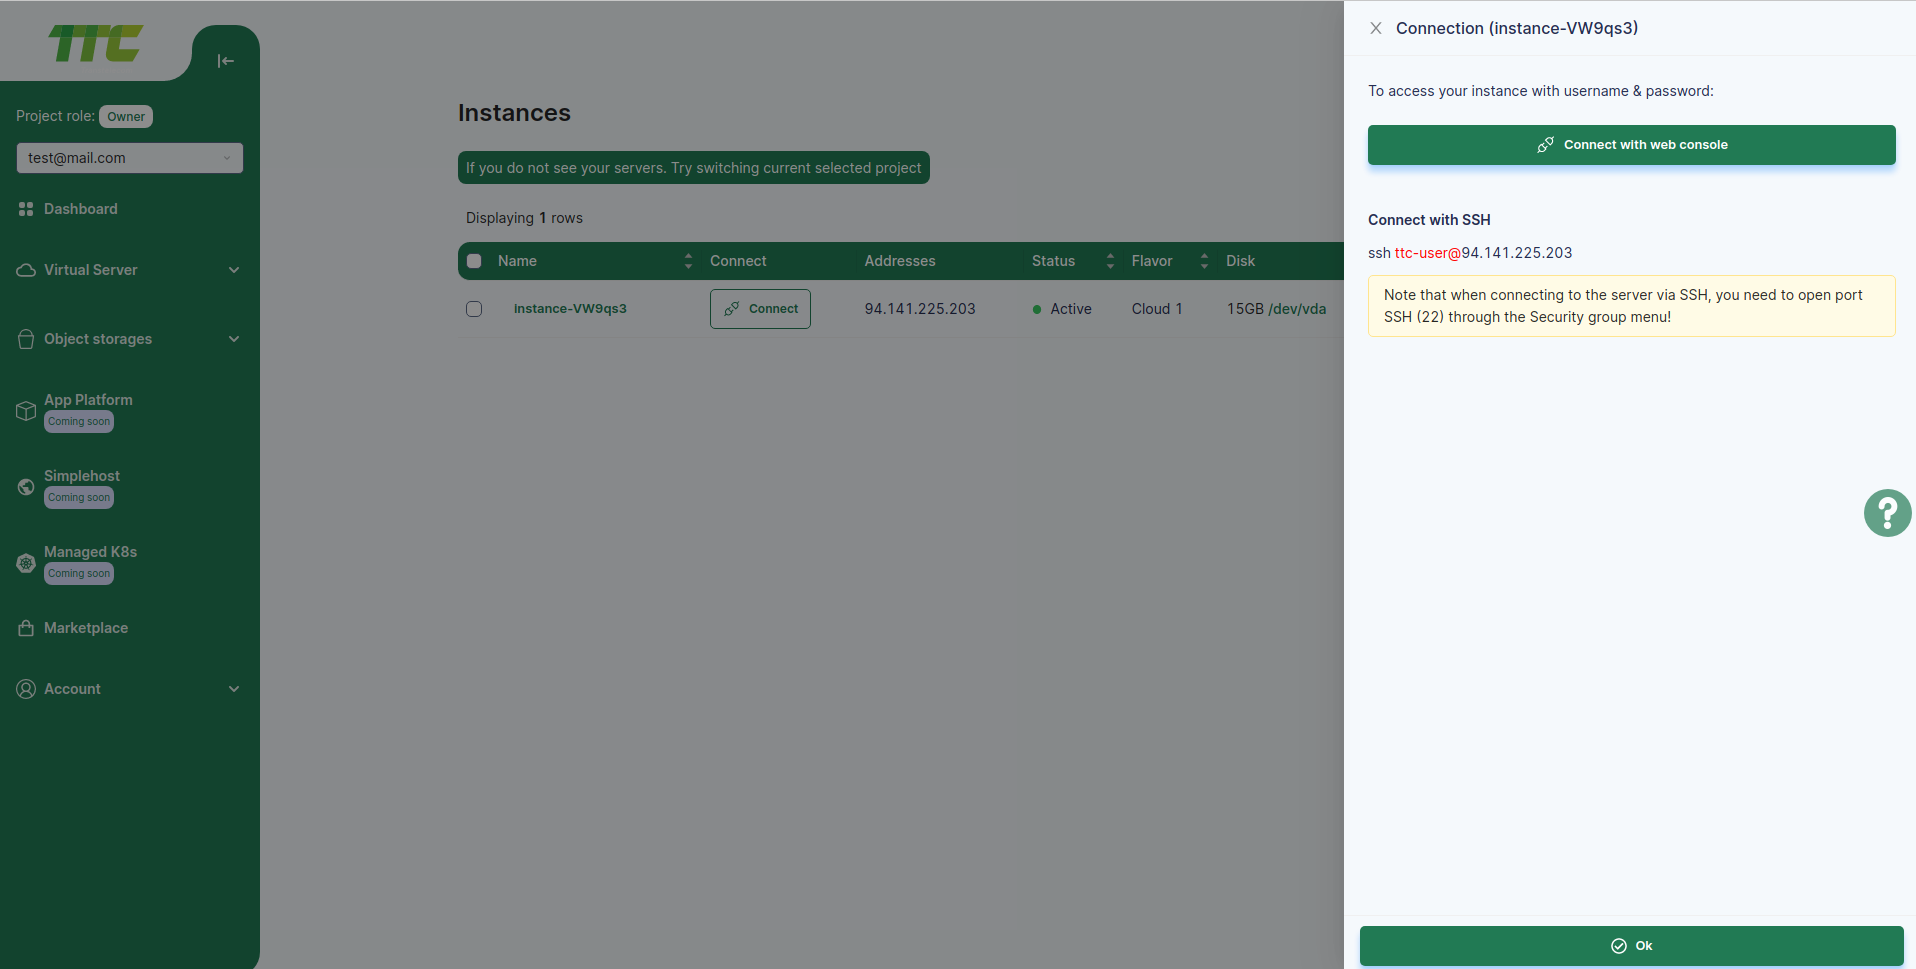
Connecting to an external server
Create a keypair
- A Keypair can be created when an instance is created. Also click the Create Key Pair button from the Keypair menu.
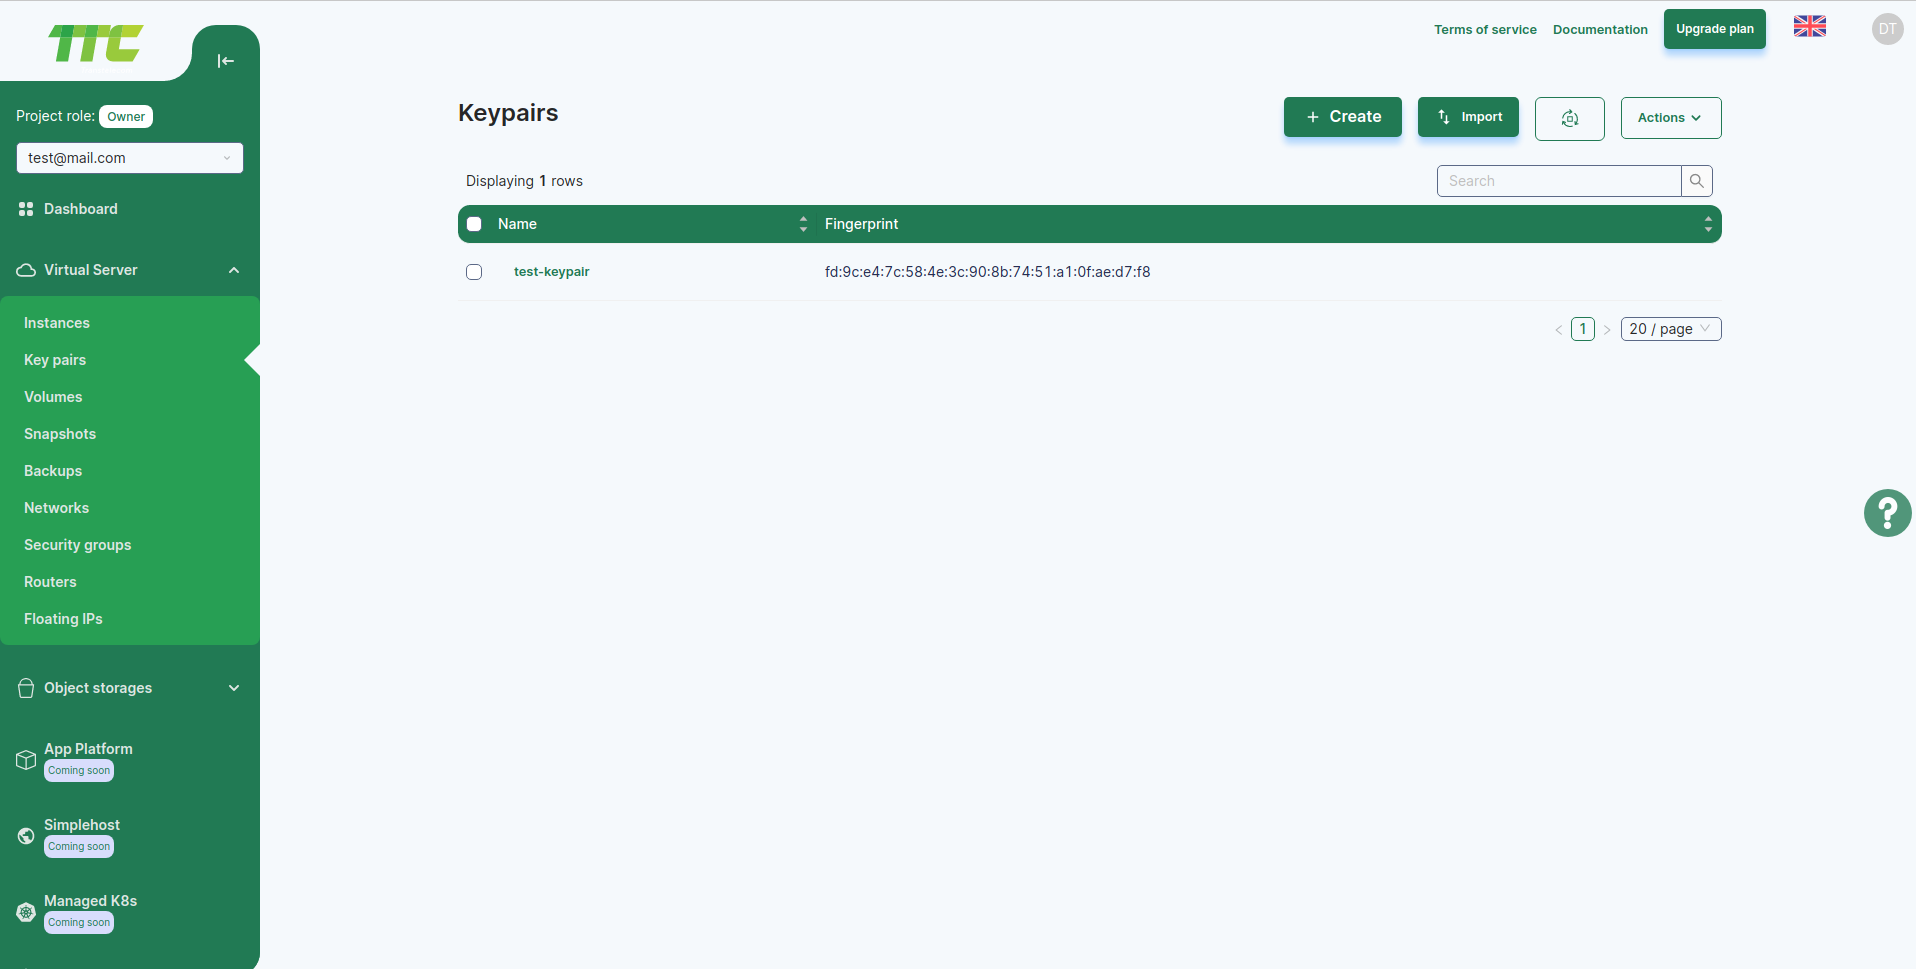
- Type the name of the Keypair you want to create and click Create. The keypair will then be generated and the .pem file will be downloaded to your browser.
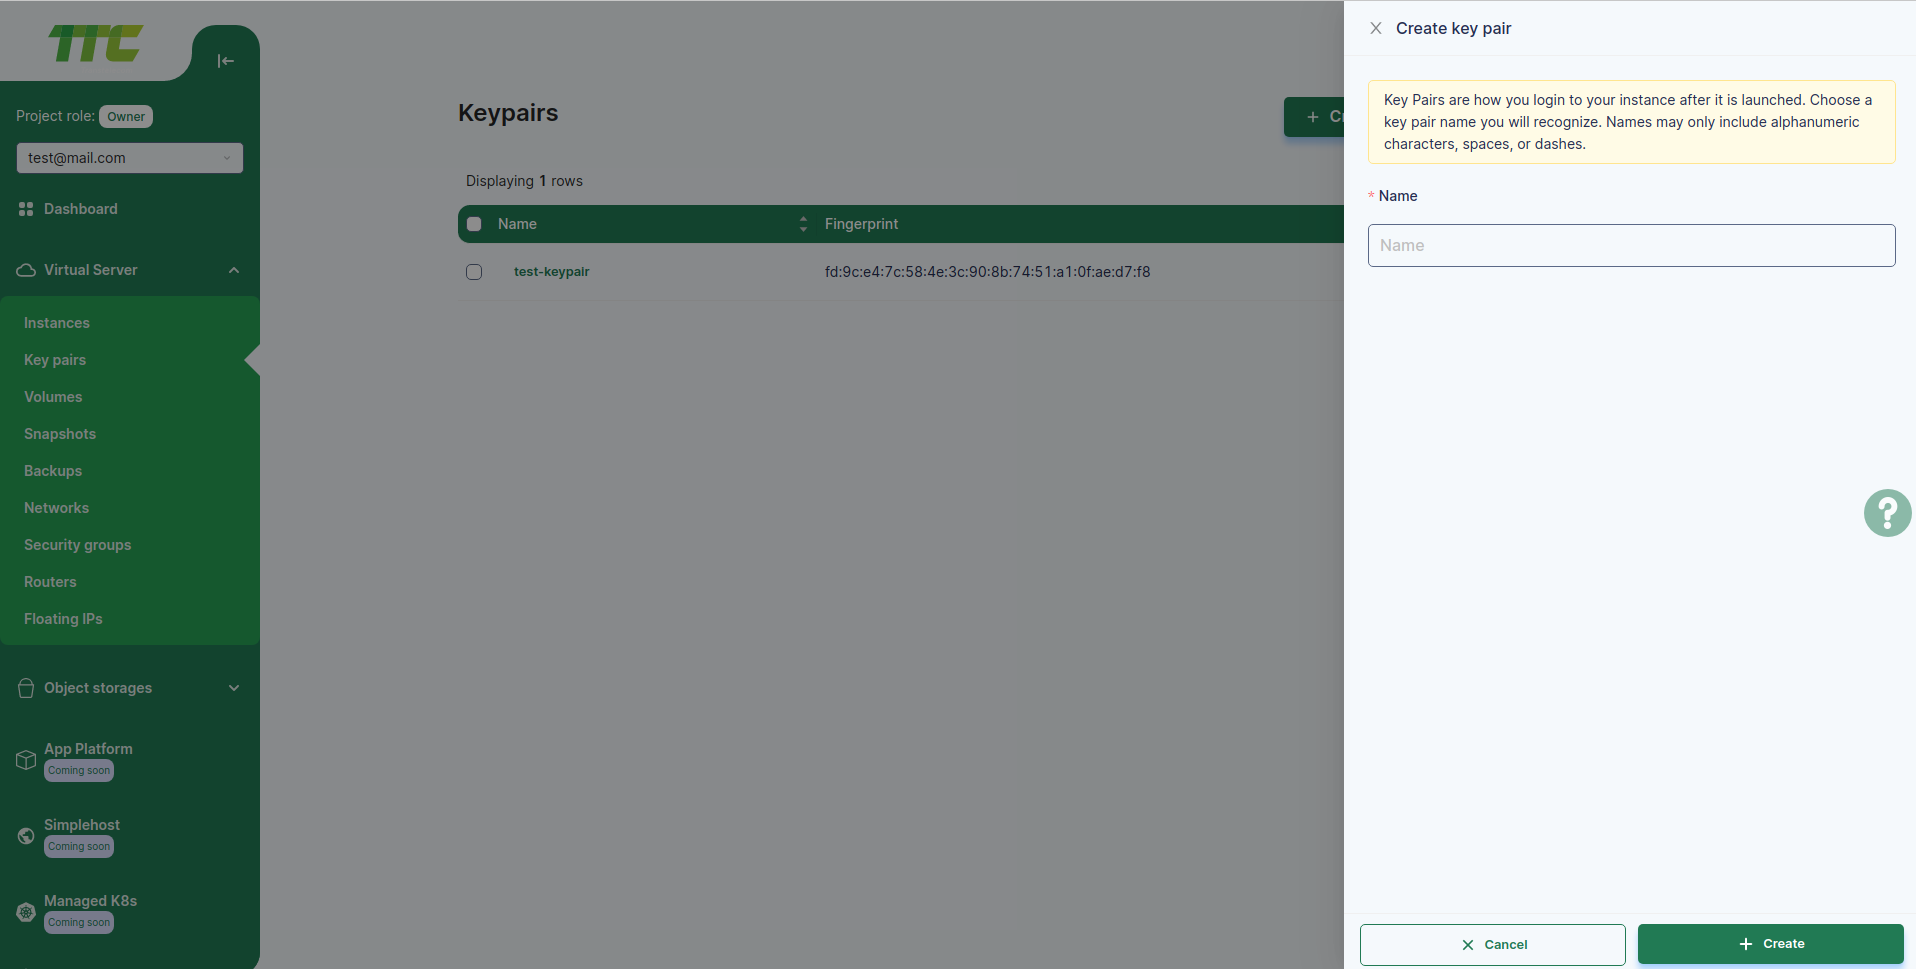
- Use the keypair you created. Click the enter button and a field will appear where you can enter the name and public key.
- Instructions on how to generate SSH-keygen will also appear.
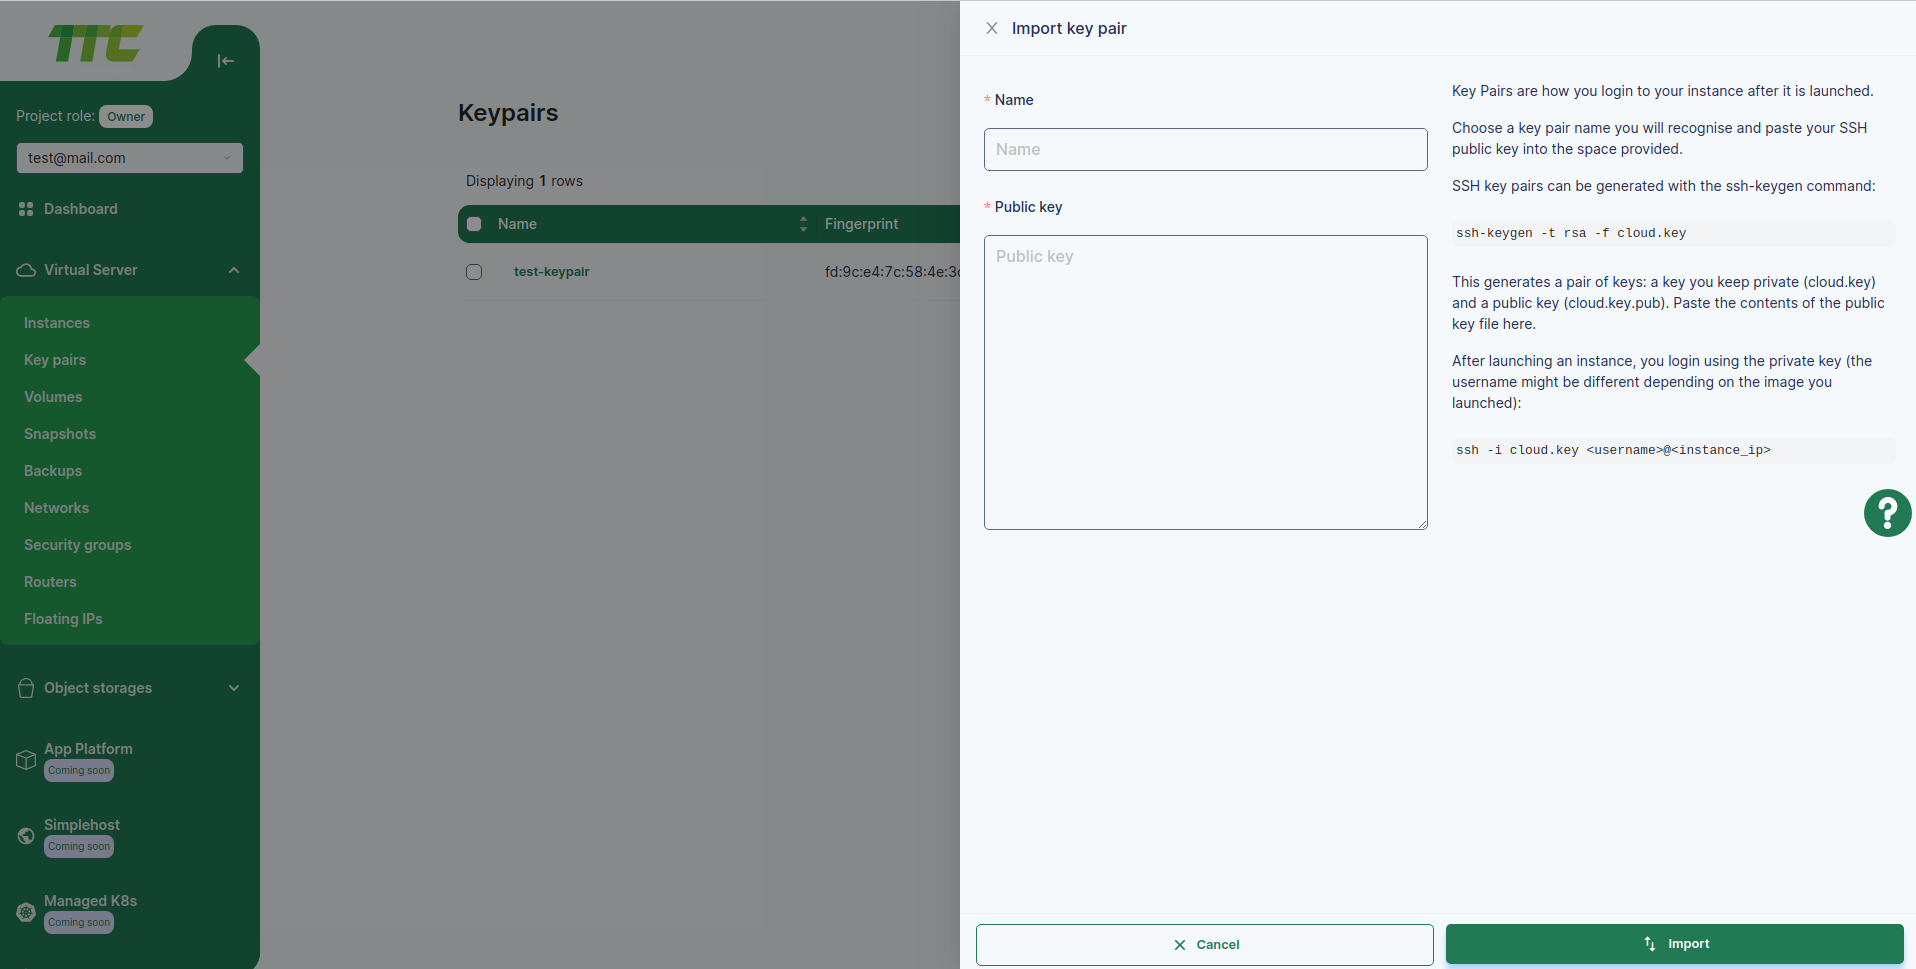
Remote connection to Instance
Connect to Instance using Keypair
Attention! Public IP address is essential to access Instance from Remote or Web Console, see the following document about it! Add a Public IP address to the Instance (Attach Interface), and if the Instance is created in a Private Network, add a Floating IP address to the Instance (Associate Floating IP). Note that if the SSH port of the Instance is not opened, it will not be possible to connect! It is necessary to open an SSH port on the Security Group or virtual firewall, see the next section - Opening an SSH Port and Adding a Security Group to the Instance.
- When creating an Instance, fill in the Keypair option in the Authentication section, choose from the Keypairs you have created, and bind it to the Instance.
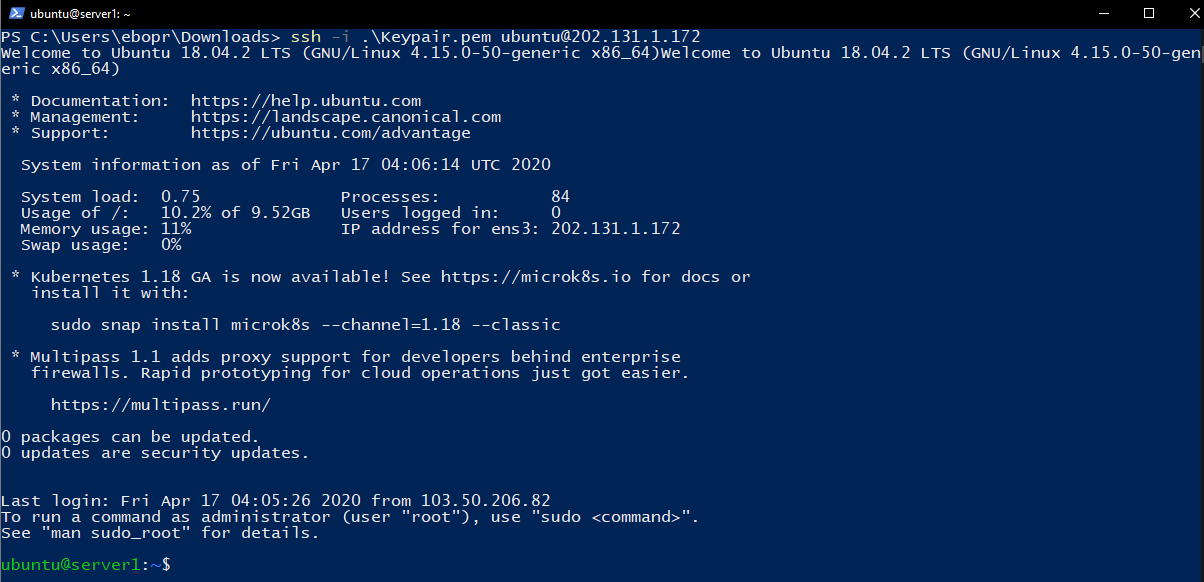
- Go to the directory where the Keypair private key file (.pem file) stored on your PC is located and open a command shell and type the following command.
chmod 400 .\NAME.pem
ssh -i .\NAME.pem IMAGETYPE@IP
For example, if your Instance with Ubuntu operating system is running at IP address 202.131.1.110
When connecting to an Instance from an Ubuntu system, the .pem file requires only read permission, so you need to run the chmod 400 command.
chmod 400 .\NAME.pem
ssh -i .\NAME.pem ubuntu@202.131.1.110
Login with username and password
If you log in using Username & Password, there are two ways to log in: Web Console and SSH.
Log in with the Web Console
- Enter the Instance menu and click the Web Console button of the Instance you want to connect to. Note that this is the easiest way to connect to the Instance and do not copy and paste from the clipboard during this process.
- The following window will open and enter the Username & Password written in the Authentication section when creating the Instance.
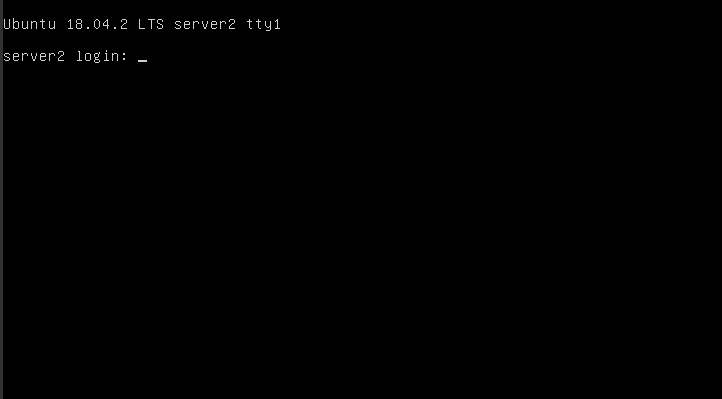
- After entering the Username & Password correctly, you will be connected to the Instance.
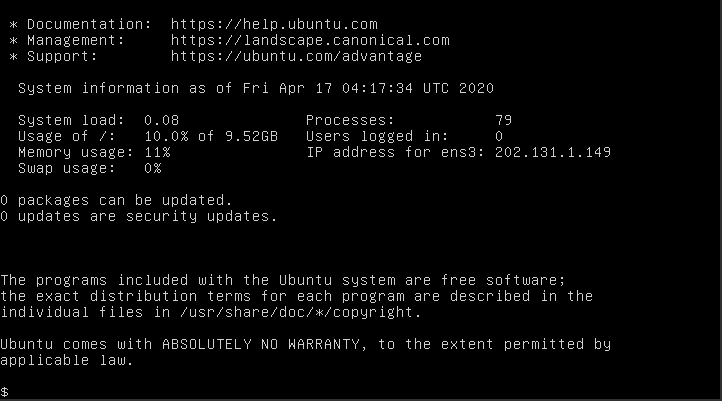
Login via SSH.
- When creating an instance, select Password in the Authentication field and enter your username and password.
- When connecting to your instance via SSH, run the command below in a shell or terminal.
ssh user_name@public_ip
- Enter the configured password. Login successfully via SSH.
Connect to an Instance with a Windows Server operating system via Remote Desktop Connection (RDP).
To connect via RDP, you need to open the RDP port or port 3389 on the Security Group that the Instance is connected to. For related information, see Security Groups, Security Group Role Managing.
When you launch an instance of Windows Server, the first thing you need to do is connect to the Web Console. It is necessary to set the Username and Password of the first user of the system.
Open Remote Desktop Connection from the client trying to connect to the Windows server.
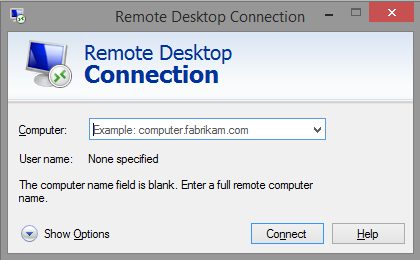
Enter the Public IP address of the Instance in the Computer field.
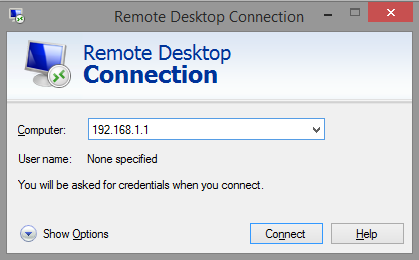
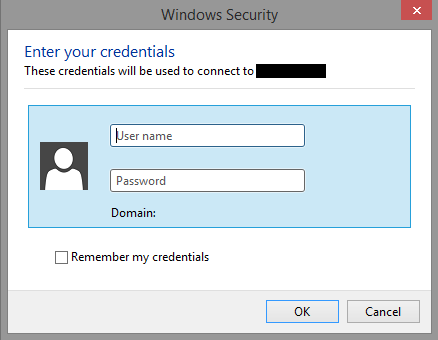
Connect will ask for user credentials and log in using the Username and Password set in the first step.
If there is an error related to Credssp, this guide How to Fix Credssp Encryption Oracle Remediation Error | Remote Desktop Connection will be useful.