Simplehost
Simplhost or web hosting to simplify the Documentation will be called "Simplehost".
Create Simplehost
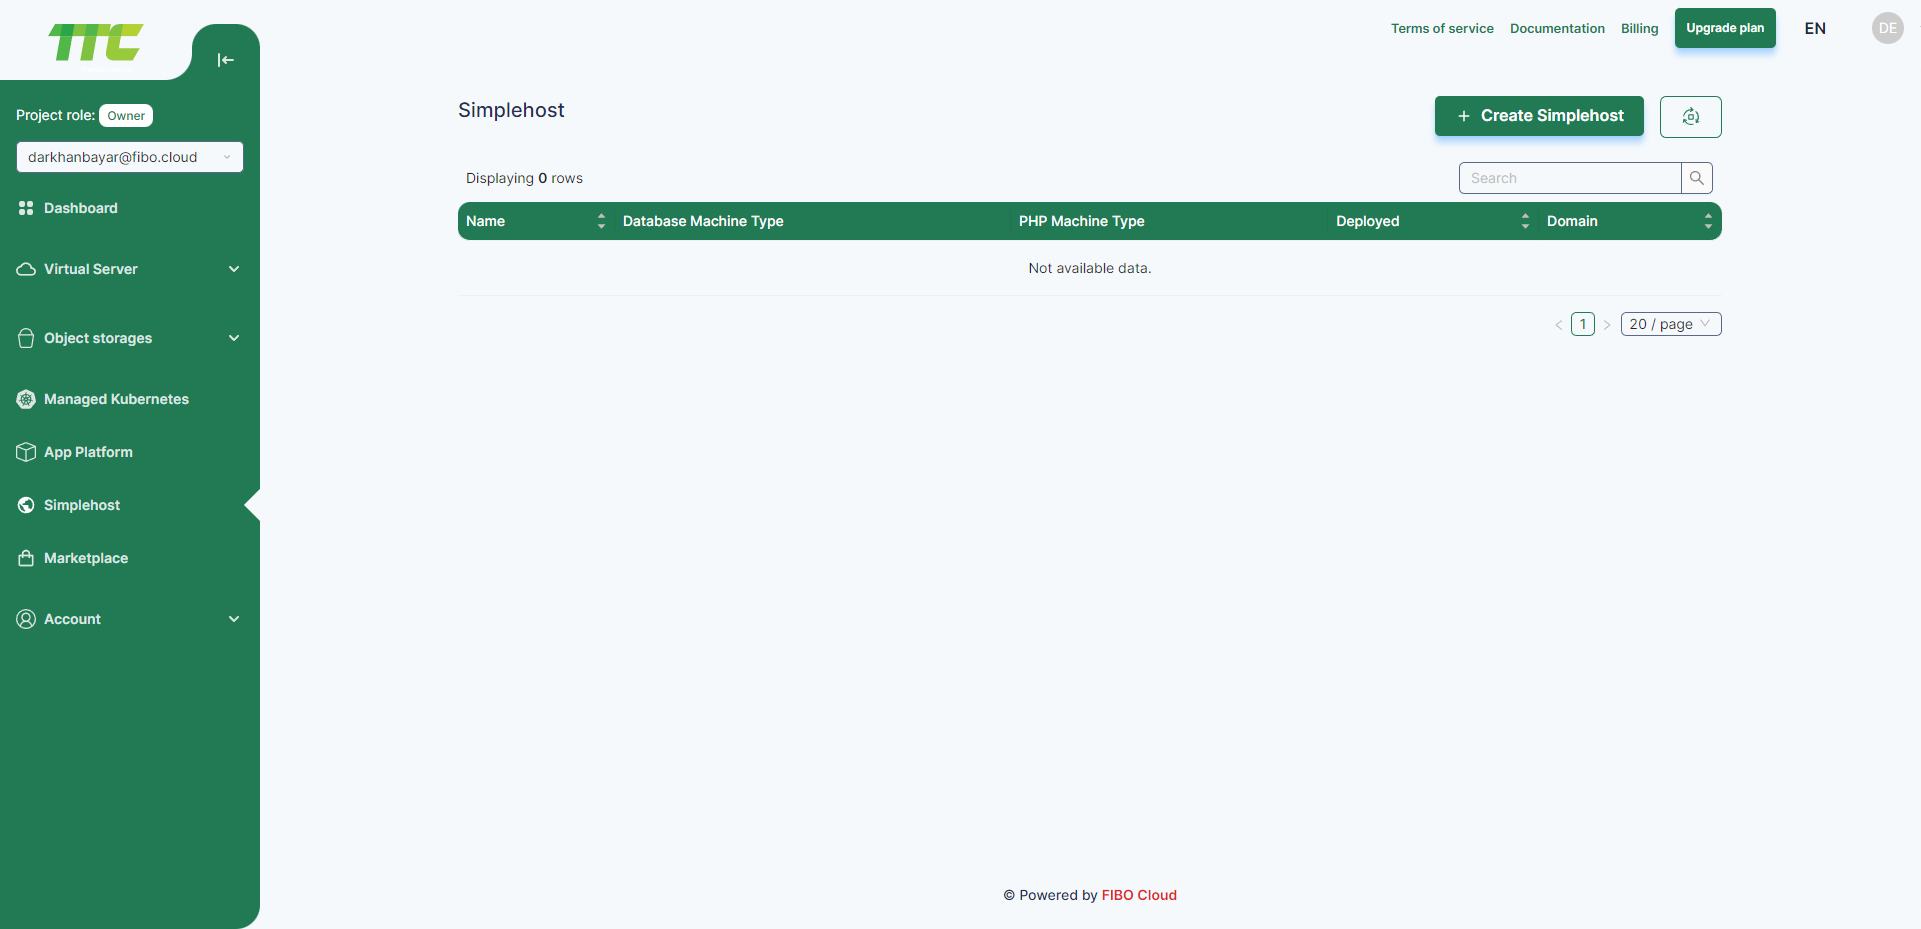
Left on the left hand side of Consumer Console Simplehost to menu.

Click Create Simplehost button.
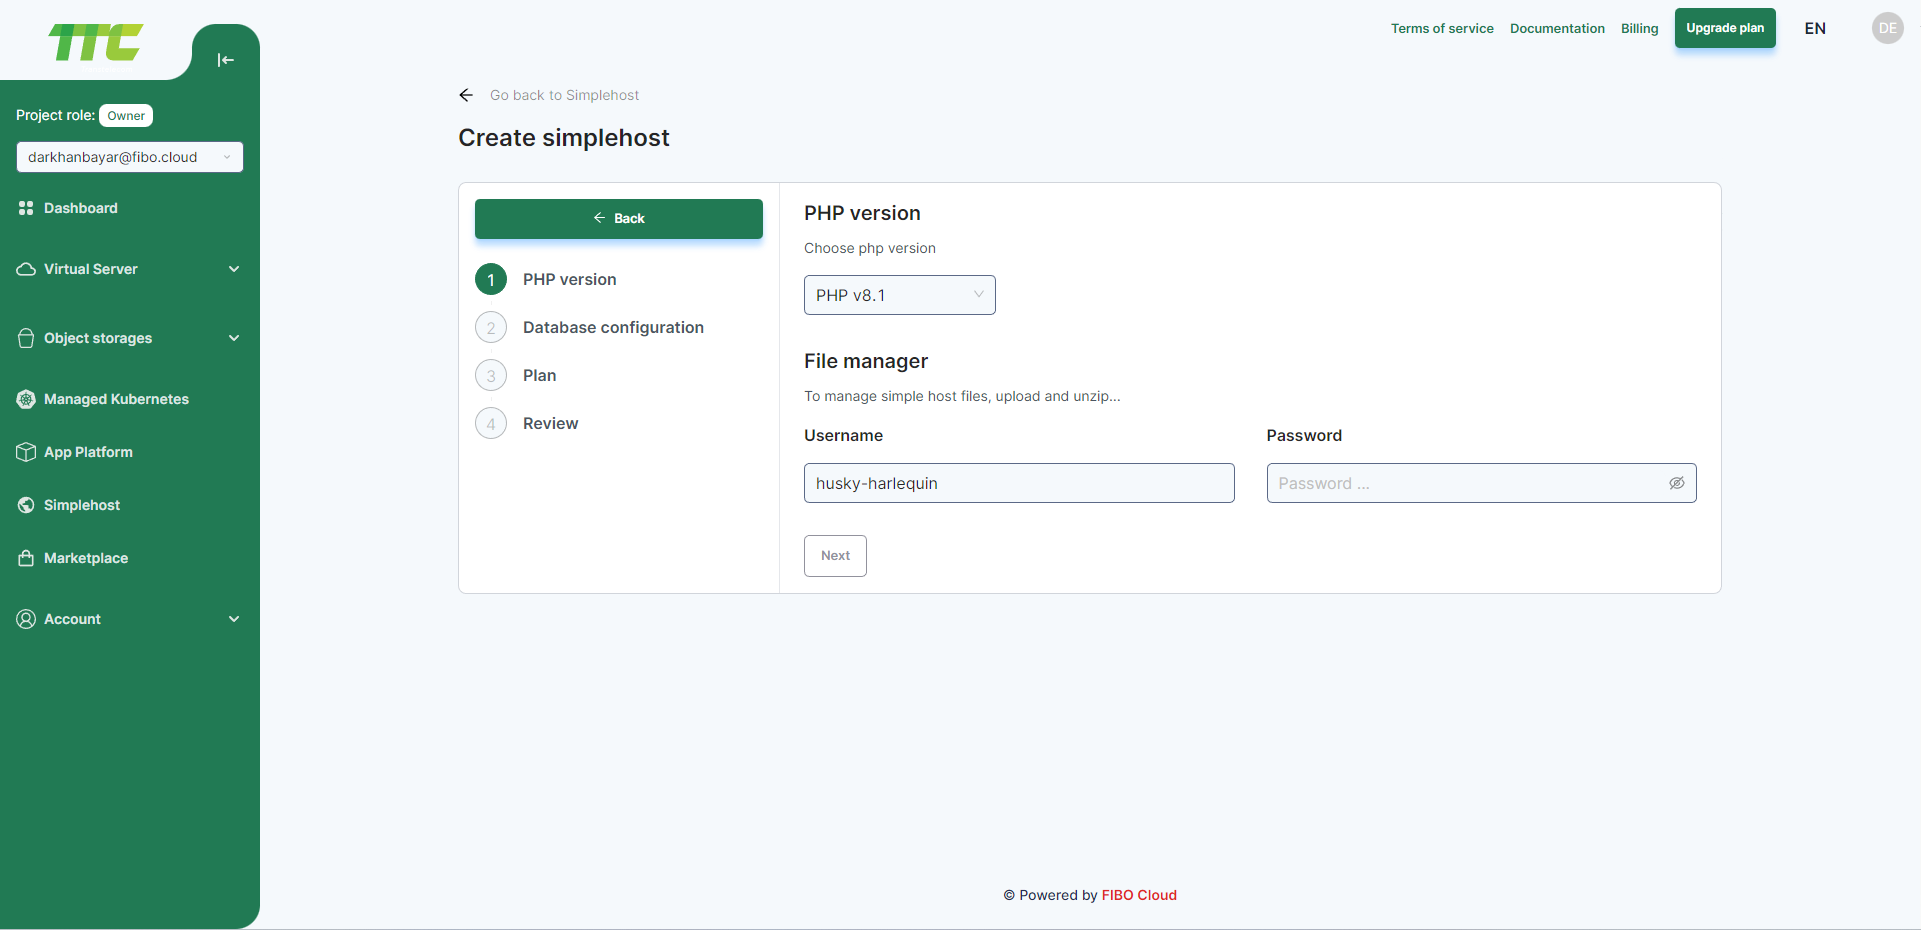
PHP version
Choose the PHP version. Next, enter the username and password to access the File manager. Once you select the PHP version, click Next.
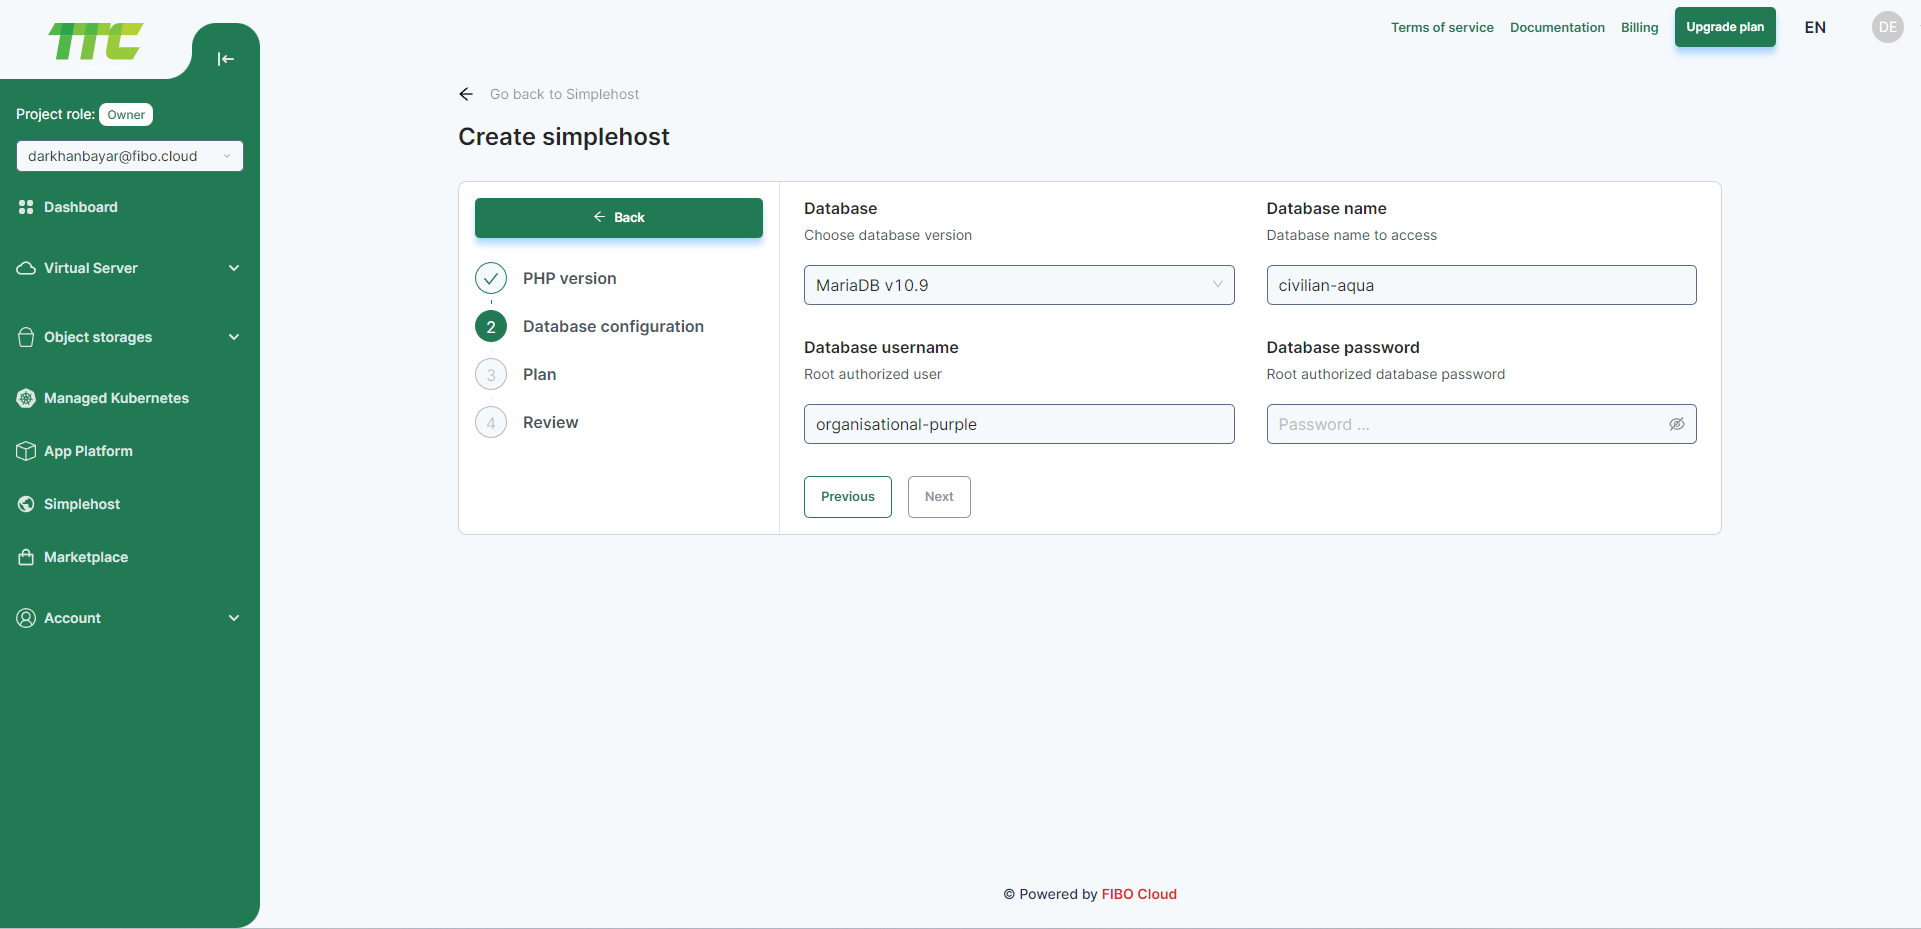
Database configuration
Choose the database version and enter the name. Also enter the username and password to access the database. Once you select the database version, click Next.
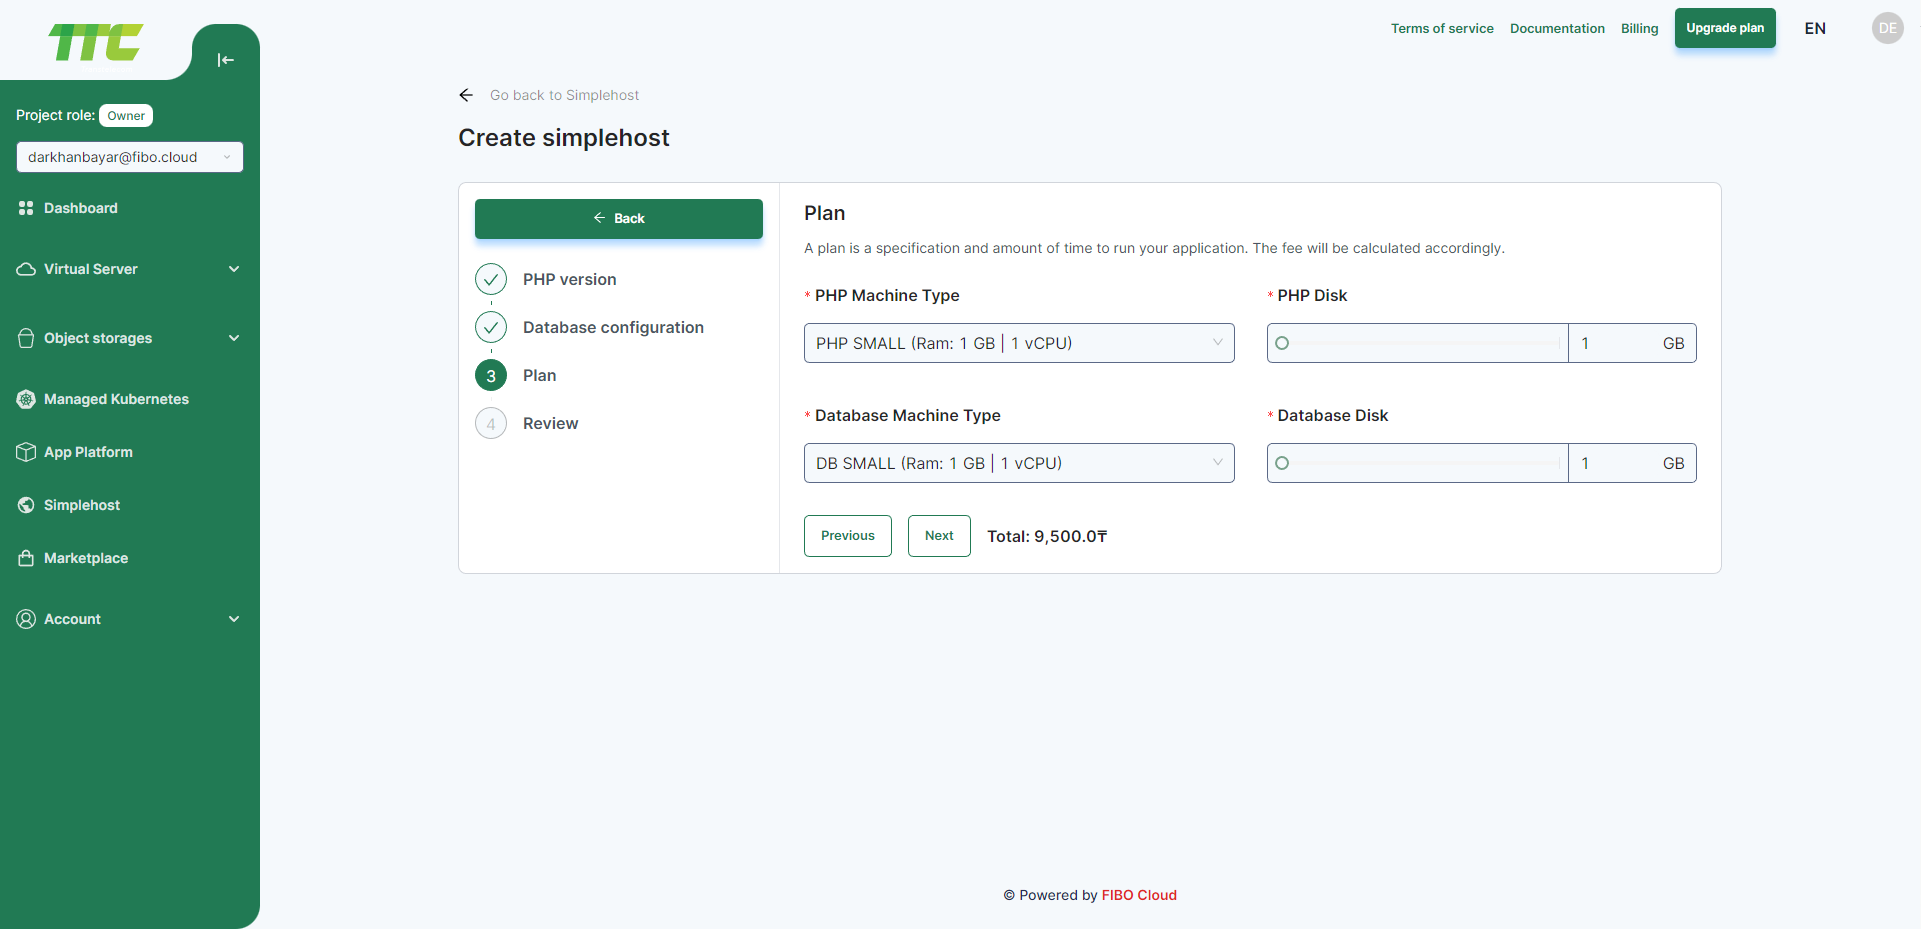
Plan
You can select one of the following plans as well as scale the simplehost resources vertically by increasing the amount of CPU and memory or horizontally by adding more container instances.
As you change the size or the number of containers, the Monthly Simplehost Cost section updates to give you an overview of the simplehost’s monthly cost.
Once you select the plan, click Next.
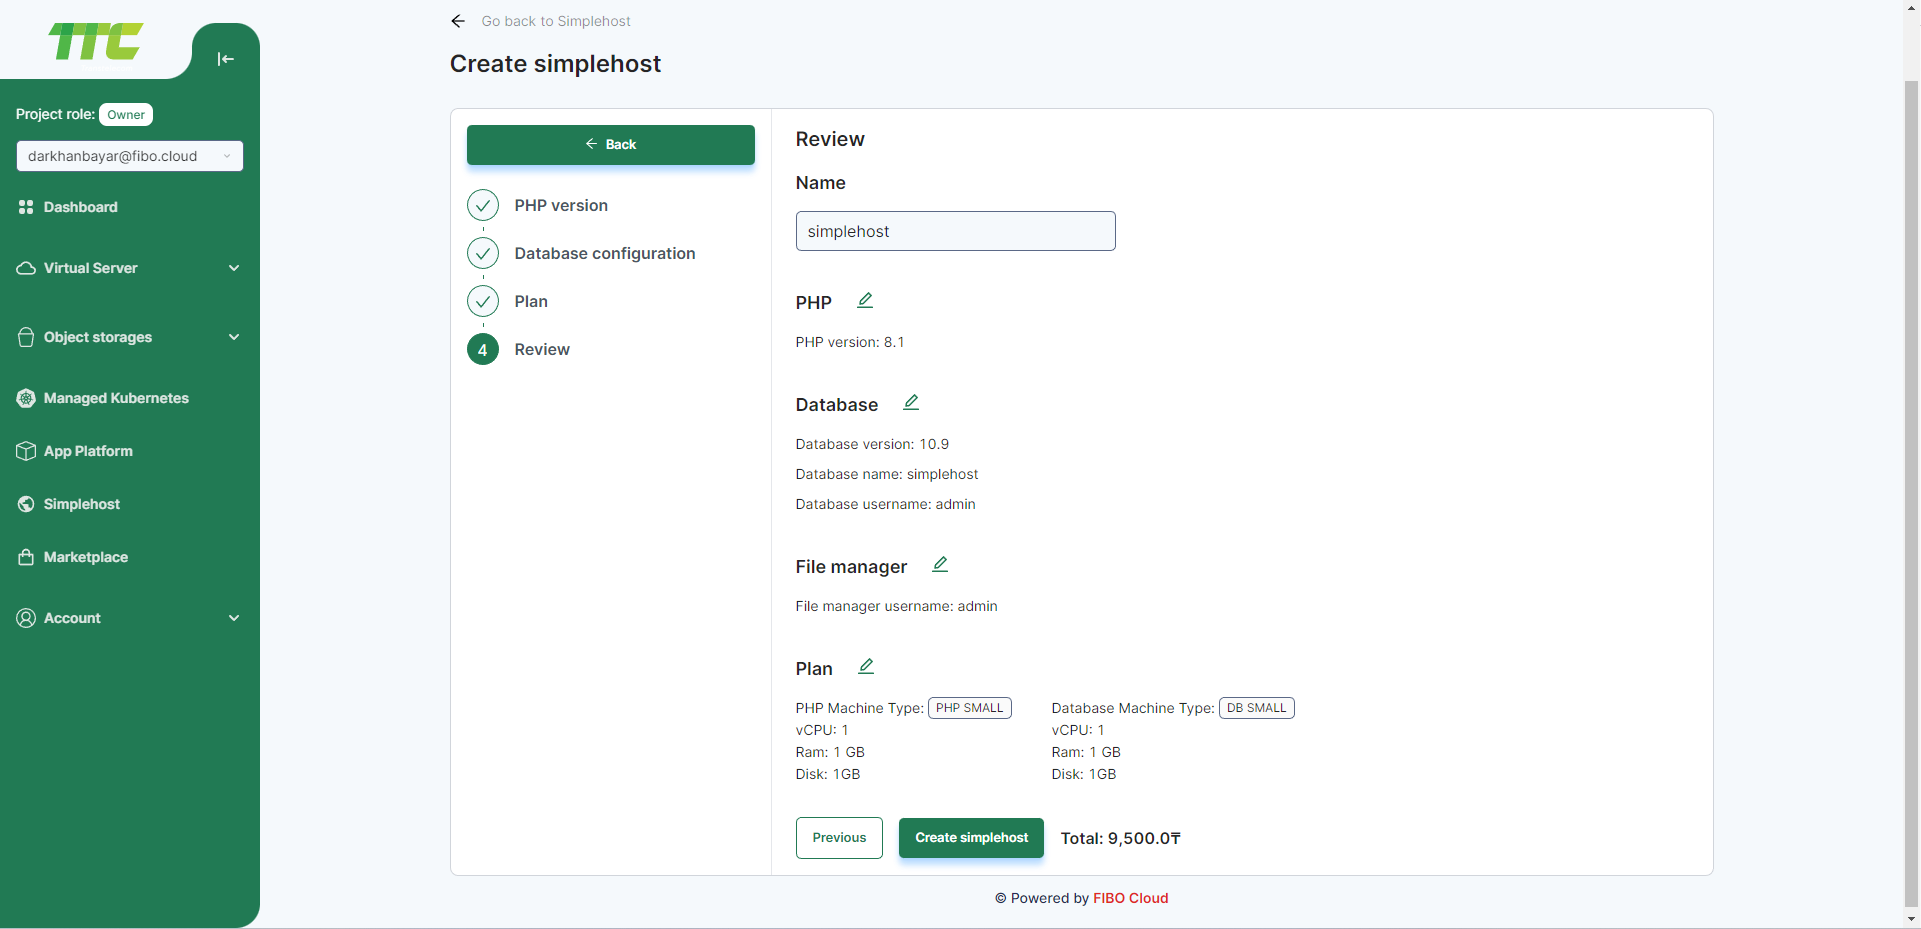
Review
On the Review screen, review your simplehost’s resources, database, filemanager and billing information and then click Create Simplehost.
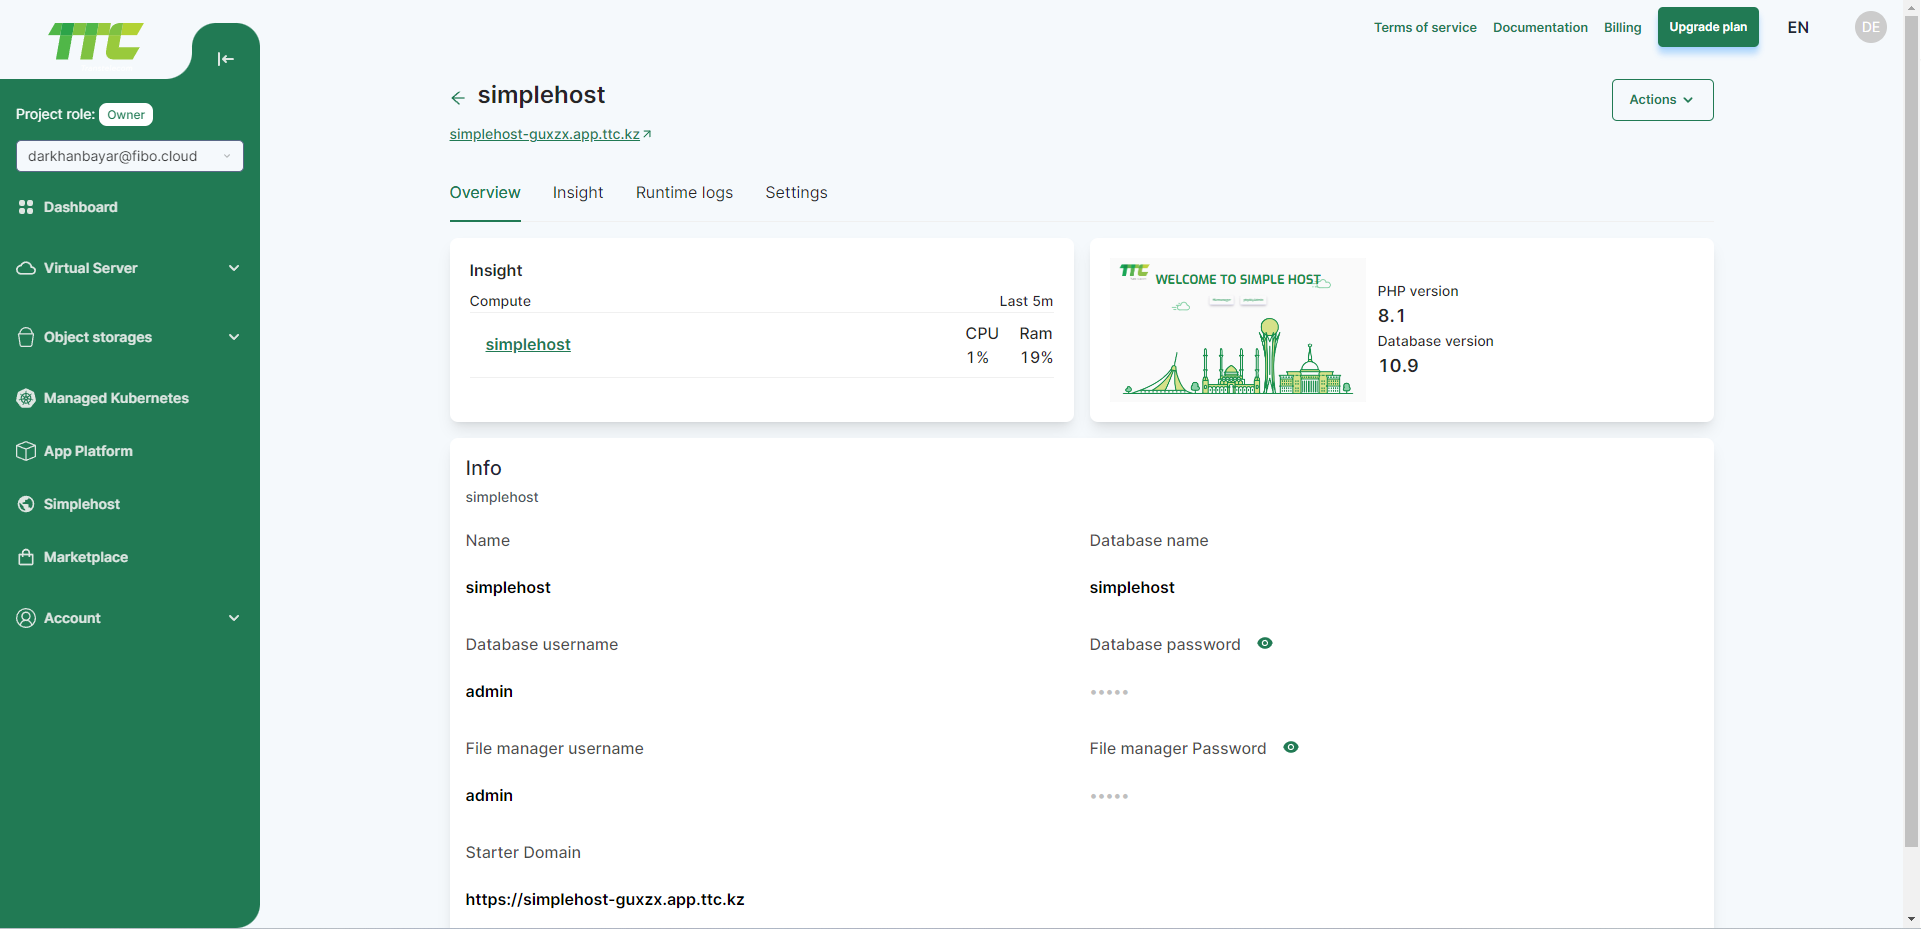
Once your simplehost deploys, you can view the simplehost at the URL at the top of the simplehost's Overview page.
Default Simplehost Website looks like ...

You can then access the file manager and database using the username and password you created.
Filemanager

phpMyAdmin

How to Manage Domains in Simplehost
By default, your simplehost will be given a sub-domain on app.ttc.kz. You can also register a custom domain.
Add a Custom Domain
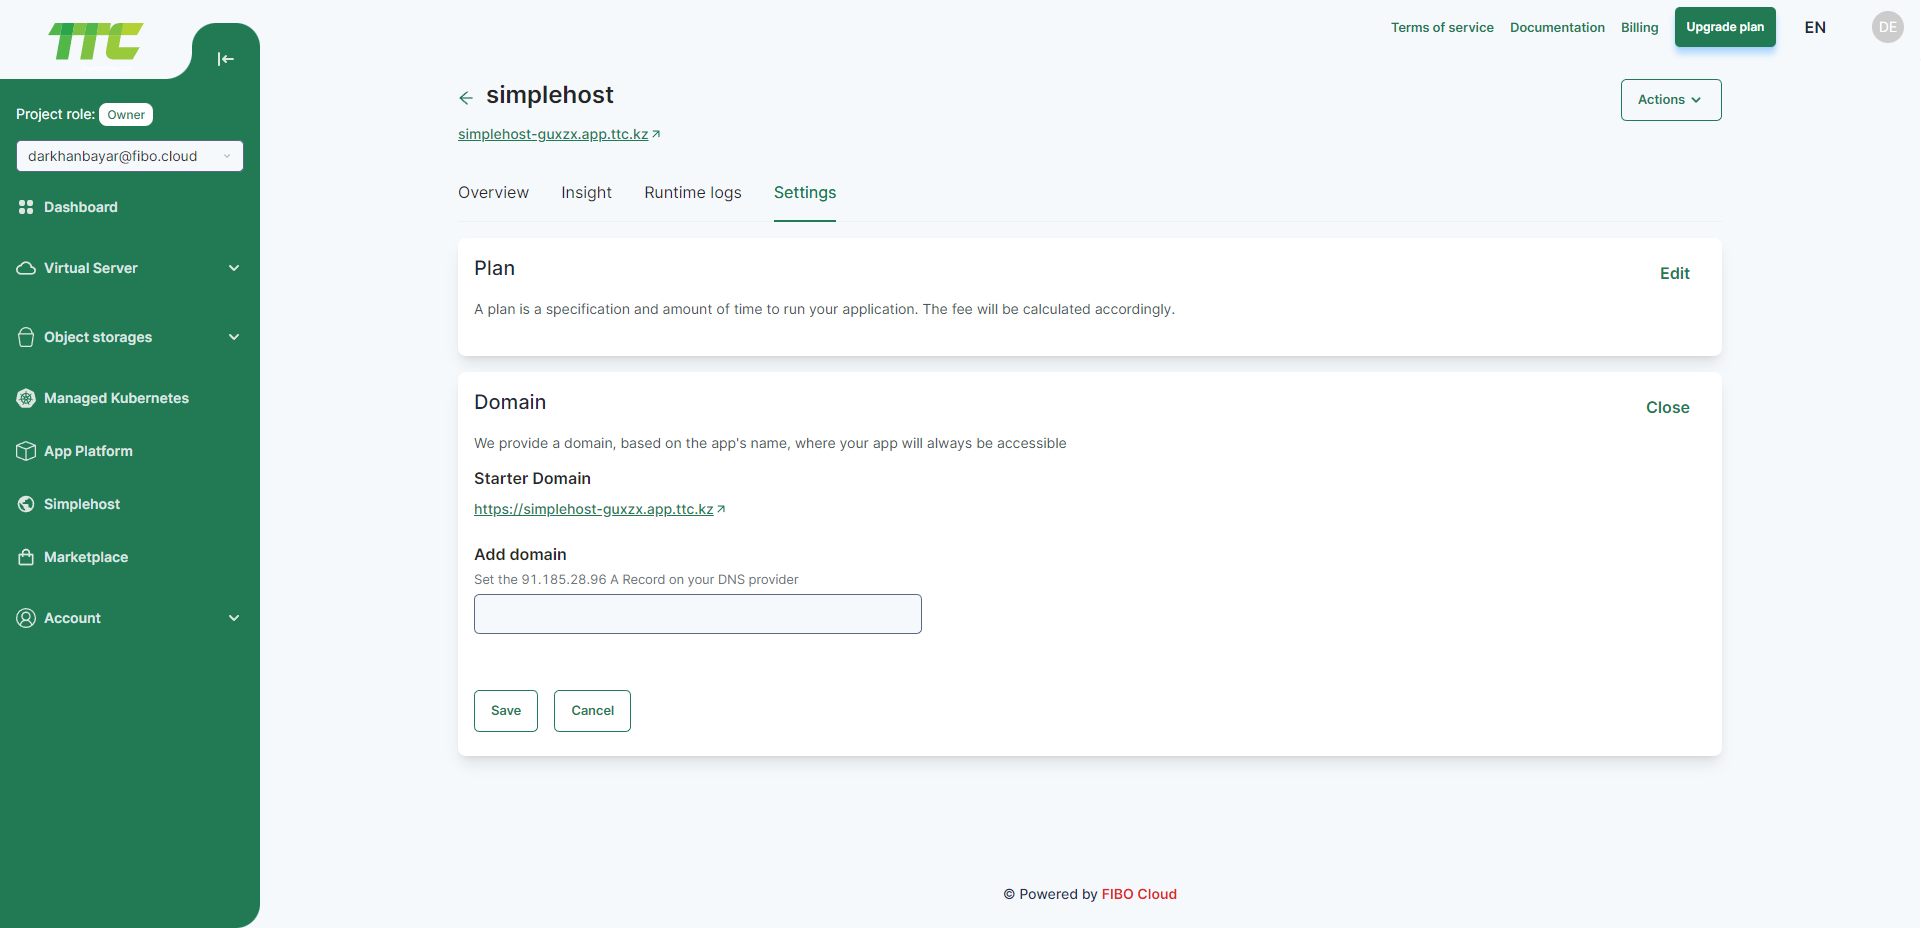
Go to Simplehost, click on your simplehost, and click on the Settings tab. Then, click the Edit link to the right of Domains, and the Add Domain button.
On the Add Domain form, enter your custom domain name at the top of the form in the text area under Domain or Subdomain Name, then click to proceed.
DNS changes can take up to 72 hours to propagate across the internet.
Delete a Custom Domain
Go to Simplehost, click on your simplehost, and click on the Settings tab. Then click the Edit link to the right of Domains.
Click Red (-) Button to remove a domain that is associated with your simplehost.
How to Change Plan in Simplehost
Go to Simplehost, click on your simplehost, and click on the Settings tab. Then click the Edit link to the right of Plan.
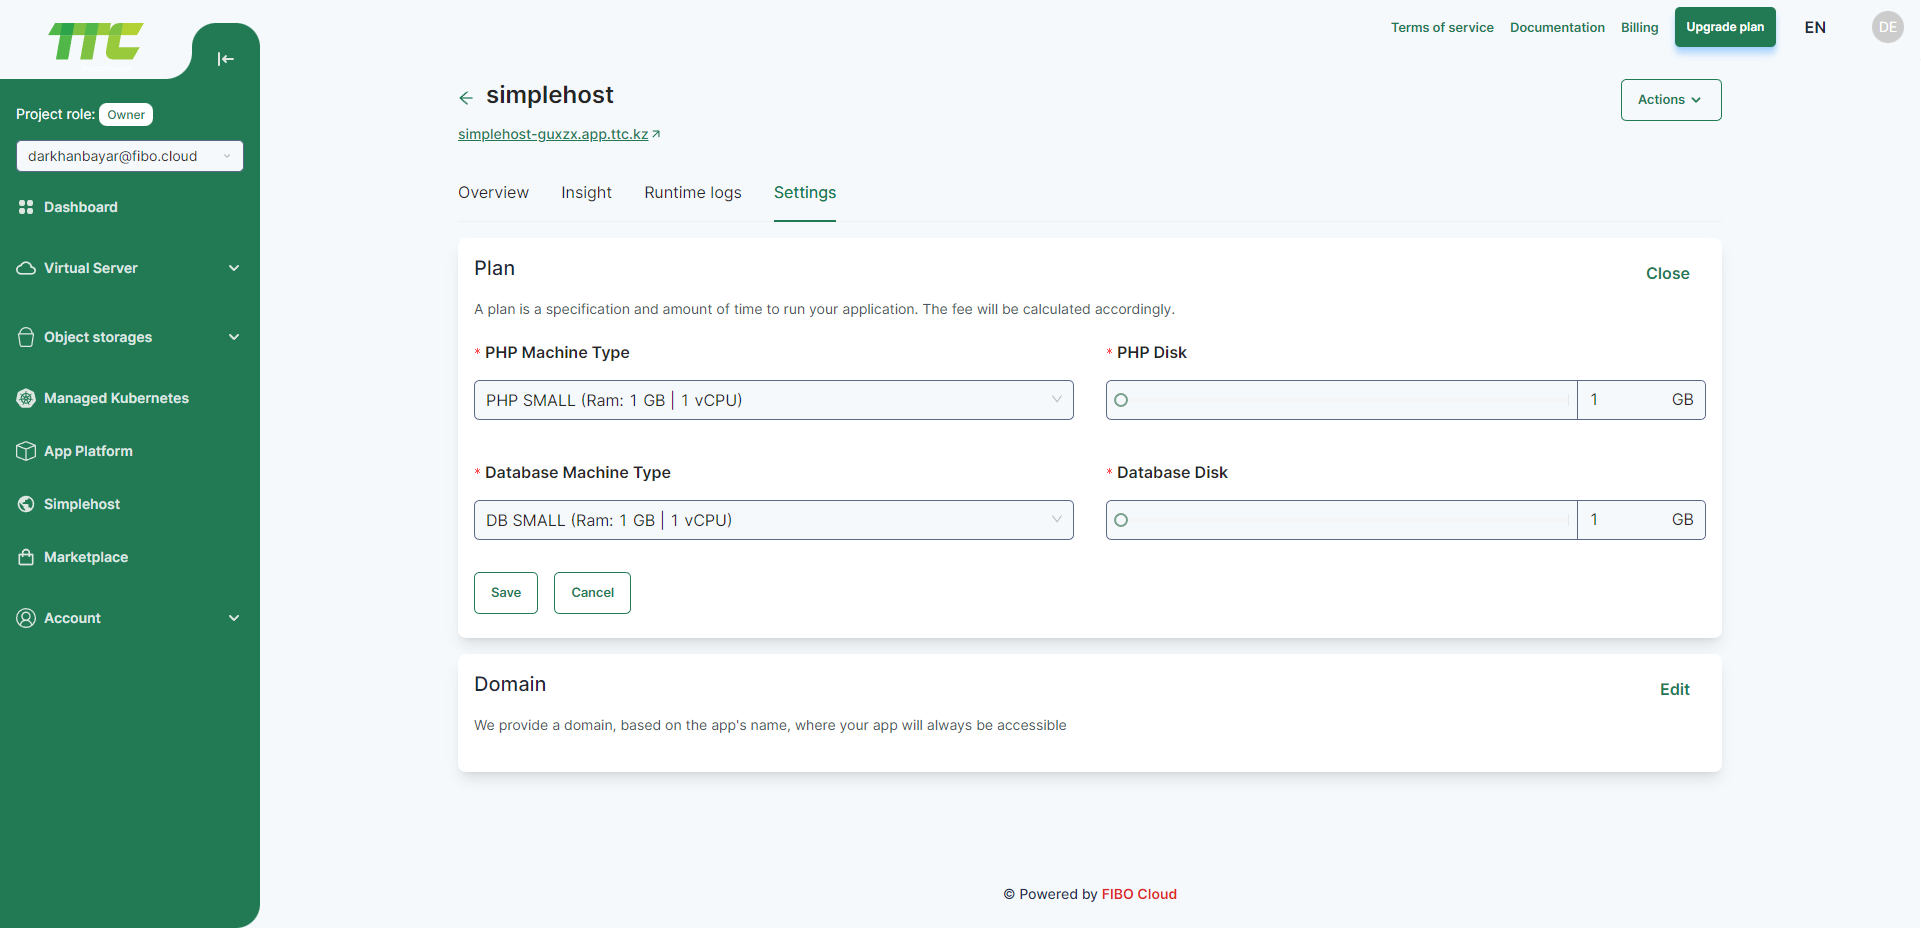
Select PHP and Database machine type by clicking on the dropdown, and change the size of the PHP and Database working disk and click the Save button
View Insights in Simplehost
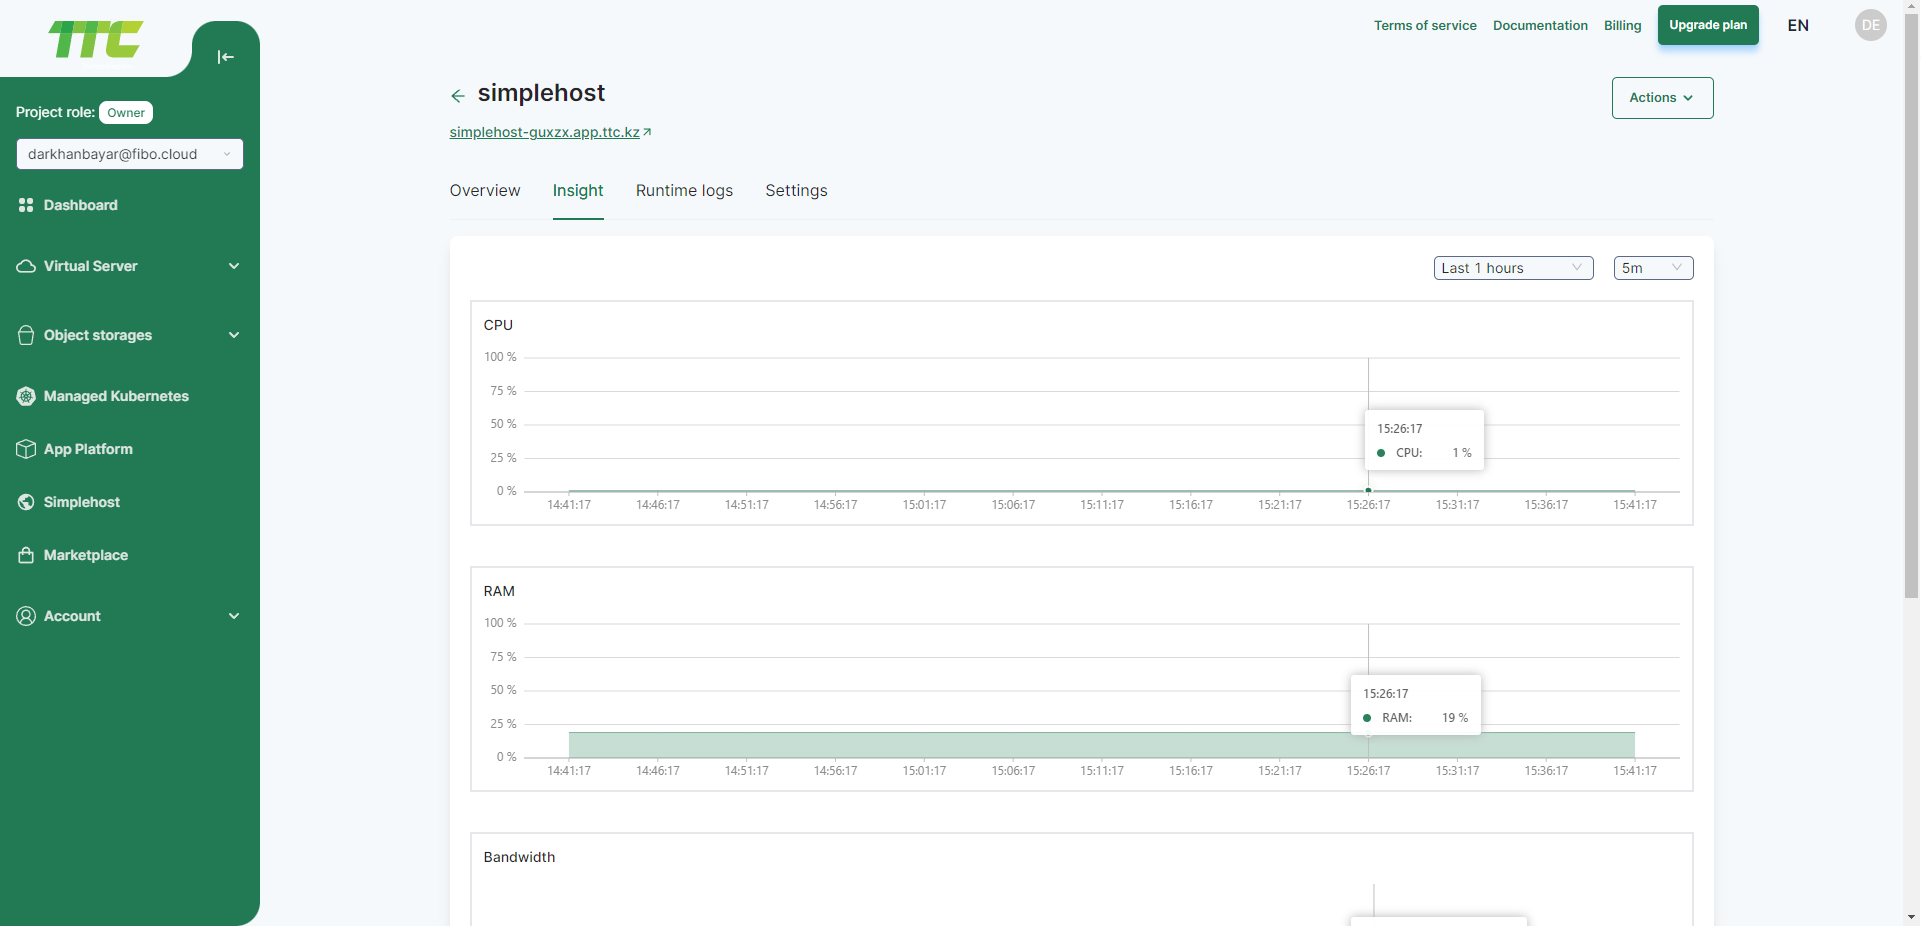
Go to Simplehost, click on your simplehost, and click on the Insights tab. By default you will see insights such as memory and CPU usage for all of the active resources of your simplehost. From here, you can click on a resource to filter insights by resource.
View Logs in Simplehost
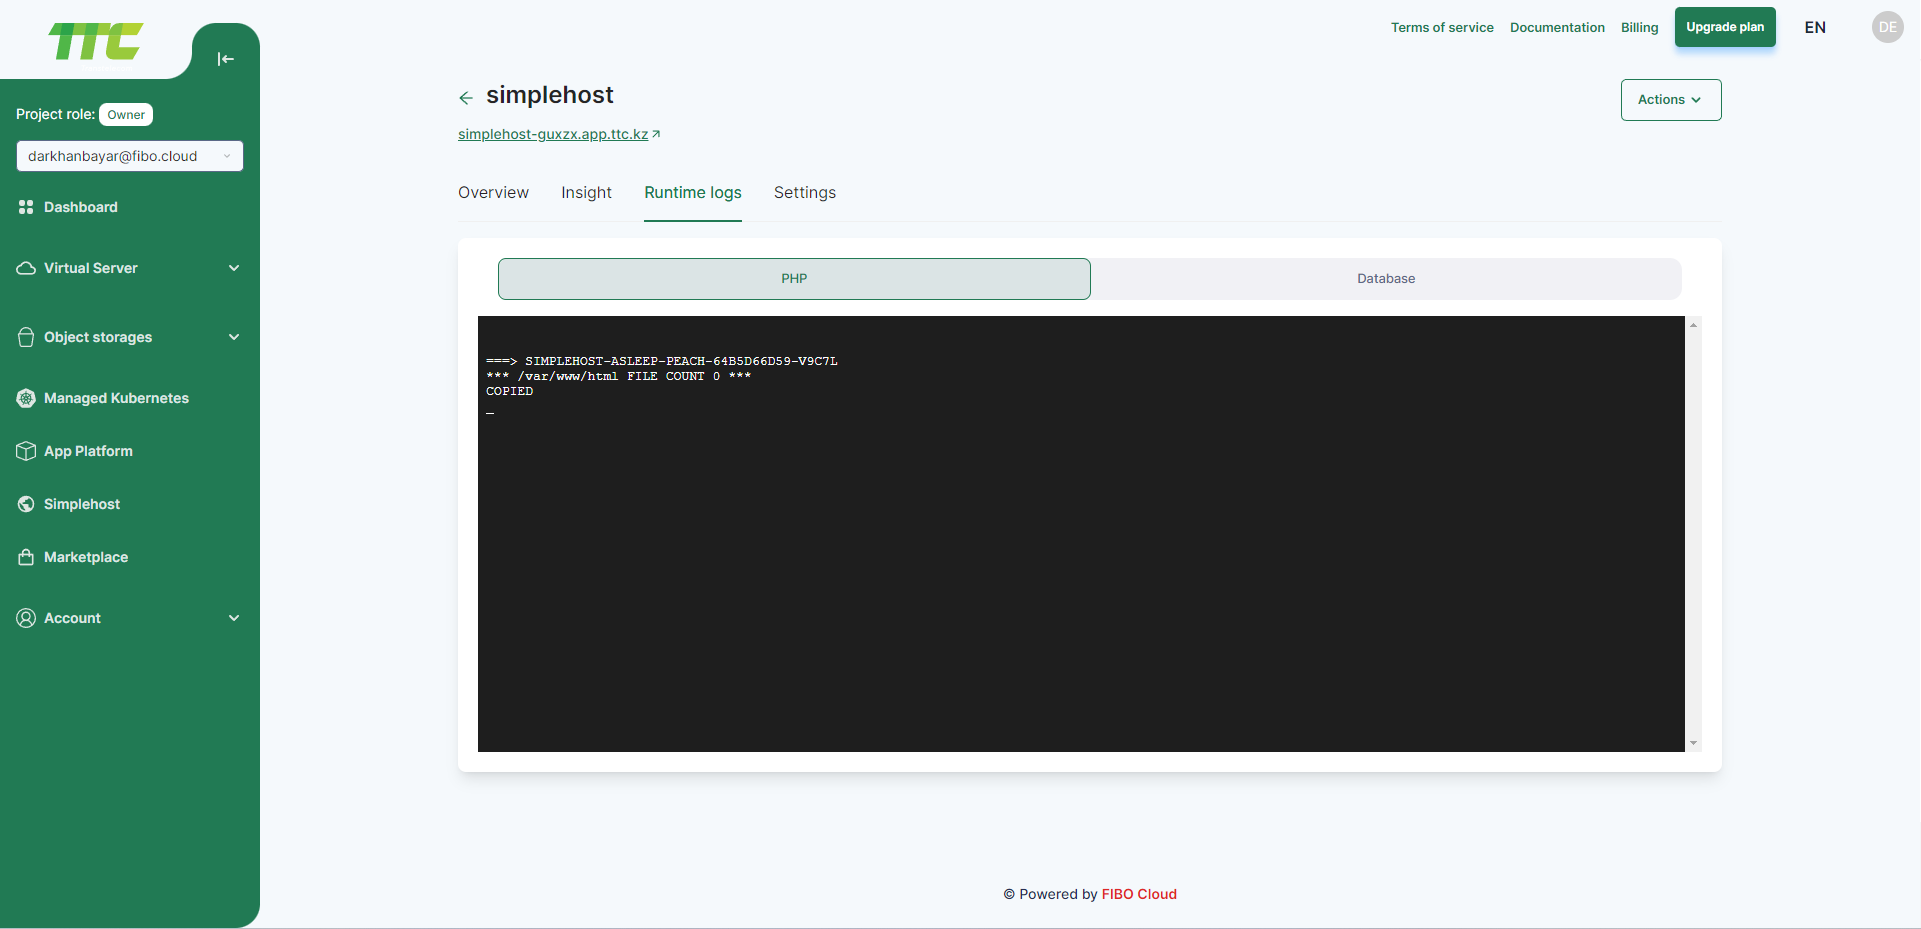
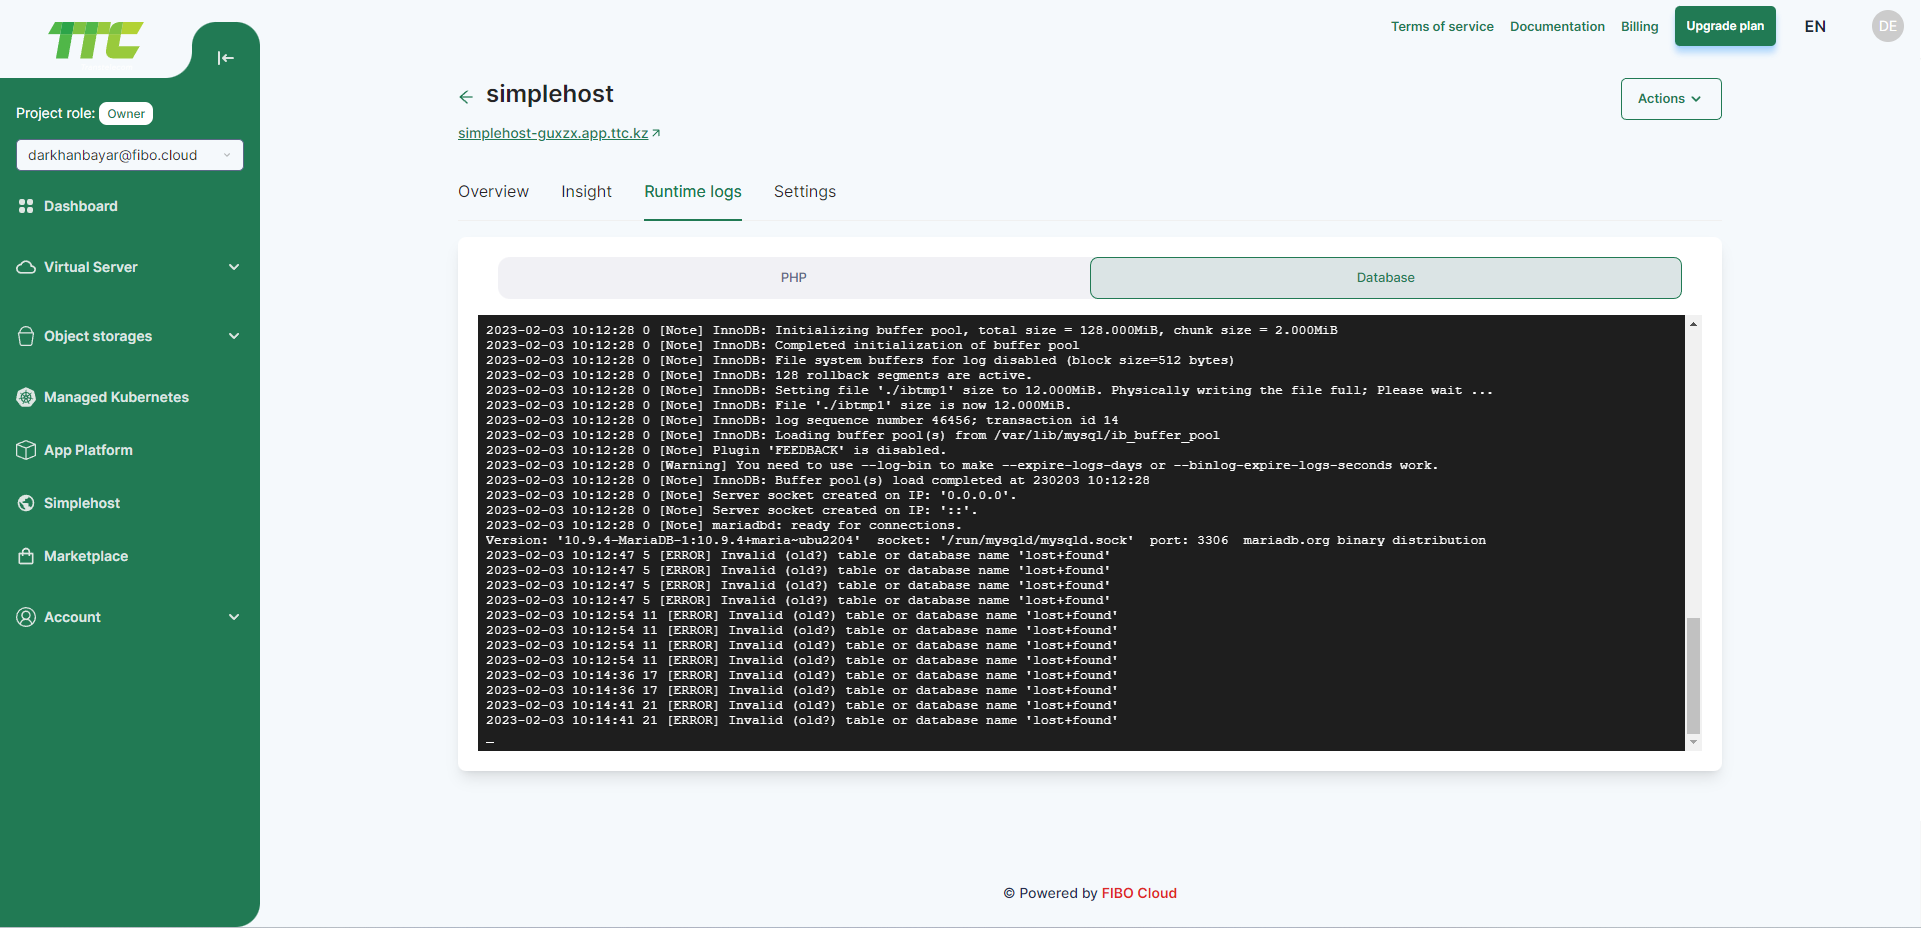
Go to Simplehost, click on your simplehost, and click on the Runtime Logs tab. Click on the Runtime Logs tab, then click on a resource to view its logs. The logs show within a few minutes after the simplehost deploys. You can see logs click the PHP and Database tab. The logs are updated in real-time while the resource is running.
